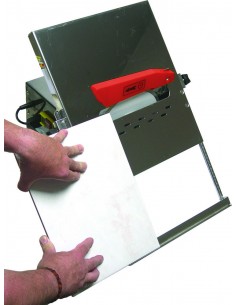
- Tiler tools
- 5171 views
- 0 comments

Automatic translation
Laying tiles is a task reserved for tilers. It must be carried out by a professional to avoid problems such as poorly fixed joints, cracked tiles, detachment or deformed floors.
In fact, it is the best solution to enjoy a job well done. But nothing prevents you from finding out about the steps to follow to properly lay a tile. Here's how to get started.
Material preparation
The very first step to take is the preparation of the material. It is necessary to gather all the tools and equipment necessary to ensure the installation of a tiling.
Among other things, you need new tiles, adhesive mortar, joint mortar, spacers, a tape measure, a grease pencil, a ruler, a mason's square, string lines and a spirit level. You should also have a manual tile cutter, a trowel, a notched spatula, a rubber mallet and a rubber grout squeegee.
Soil preparation
The second step is to prepare the ground. Clean, scrape and flatten to have a clean and flat surface. A well treated floor allows a good adhesion of the tiles.
And if necessary, degrease it with an alkaline product such as baking soda or spread a thin layer of adhesive mortar before laying the tiles to treat its porosity.
Establishment of the laying plan
To continue, the next step is to think about the layout plan. Determine how your tiles are going to be laid out.
Would you prefer a straight laying, a diagonal laying, a herringbone laying or a cabochon laying? Are you also planning to start from the door or from the center of the room? As you know, the direction of the installation guarantees the aesthetics of your coating. But it also helps to avoid unsightly cutouts in the middle of your room.
Tracing of installation axes
Once the laying plan has been established, you must draw the laying axes. Take the pencil and the ruler and mark directly on the floor the direction of laying your tiles. The laying normally begins at the intersection of the two axes, but here the most important thing is to ensure the alignment of the tiles.
Laying the first tile
When laying the first tile, you have to be very careful. This element must be placed at the intersection of the installation axes that have just been drawn. You must then use the rubber mallet to firmly fix it in the glue.
Try not to leave a gap here and lay a spacer at each corner of the tile. So ! Now that the first tile is laid, you can install subsequent tiles in the same way.

Comments (0)